DIY Decor: Upcycle a Charity Shop Wooden Stool with Chalk Paint and Indigo Wax
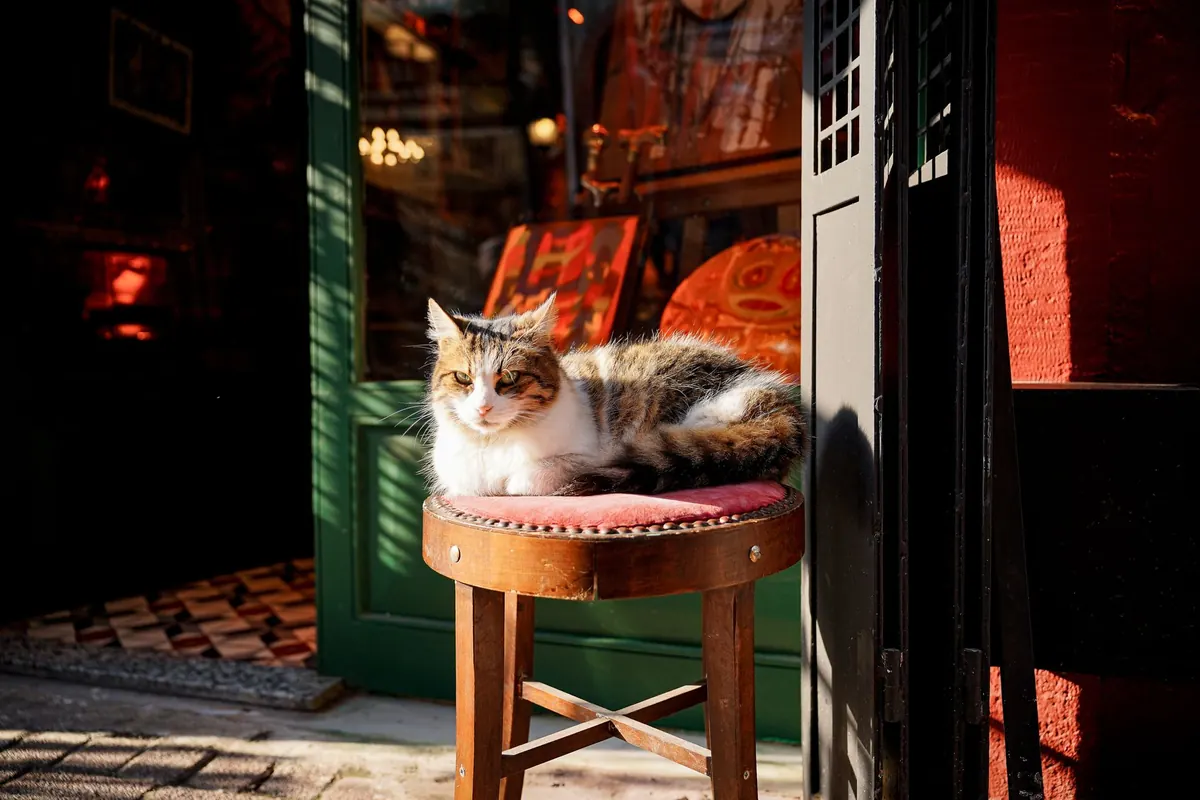
Charity shops are full of wooden stools nobody wants: dull orange varnish, a wobble in one leg, a top that has seen better decades. That is exactly the sort of piece worth carrying home. A stool is small enough to finish in an afternoon or two, sturdy enough to hold a lamp and a stack of paperbacks, and plain enough that a painted, waxed finish suits it rather than fights it. The method below is straightforward: clean it, tighten it, sand it selectively, then paint and wax.
Choosing a stool worth the effort
Not every bargain deserves the paint. Look for solid wood — beech, oak, pine — rather than chipboard or a thin veneer. Pick the stool up and twist it gently: movement in one joint is easy to fix, but a frame that flexes at every corner is a much bigger job. Check the underside for screws, dowels and corner blocks, which tell you how it was put together. Small round holes with fine dust around them suggest woodworm, so leave that one on the shelf.
For a bedside piece, size matters as much as style. Hold the stool next to the bed; the top should sit close to mattress height so you can reach a lamp or a book without stretching. Anything much lower quietly becomes a footstool. If the stool carries thick old paint, think before you sand it: older paint may contain lead, so paint straight over it or take proper advice rather than dry-sanding it into the air.
What you will need
- Warm water, a drop of washing-up liquid and two cloths
- Fine sandpaper — 120 and 180 grit — plus a sanding block and a small piece wrapped round a dowel for turned legs
- Wood glue, a clamp (or masking tape), and wood filler for dents
- Chalk paint in your chosen colour; a small tin goes a long way on a stool
- A synthetic brush for the main surfaces and a small brush for corners and spindles
- Indigo wax, plus clear furniture wax if you want extra protection on the seat
- Lint-free cloths or a wax brush
- Felt pads or rubber feet, and a dust sheet
Prep: clean, tighten, key the surface
Wash the whole stool with warm water and a drop of washing-up liquid, paying attention to the stretchers where hands land. Rinse with a clean damp cloth and let it dry somewhere warm. Wet wood and fresh paint do not mix.
Fix the wobble
Prising a joint apart is rarely necessary. Work wood glue into the gap at the top of the leg, wipe away the excess, then pull the joint tight with a clamp. No clamp? Wrap masking tape around the stool under tension and leave it for a day. While you are there, tighten any screws and replace missing feet so it stands flat.
Sand, but do not strip
Chalk paint grips well, but a glossy surface needs dulling first. Go over it with 120 grit, then 180, following the grain and giving extra attention to the seat, the edges and anything a hand will touch. You are not trying to reach bare wood, just to give the paint something to hold. Wipe away the dust with a barely damp cloth or a tack cloth and let it dry.
Painting with chalk paint
Thin coats are the whole trick. Load the brush lightly, paint in one direction, then lay off with light, even strokes. Chalk paint dries quickly, so if it starts to drag or feel tacky, stop and let the coat set rather than going back over it. Two coats usually cover a stool; a third helps when you are going from dark wood to a pale colour.
Let each coat dry fully, then knock back any brush marks with fine paper and wipe off the dust. Turn the legs and stretchers as you work, or you will find an unpainted stripe later, exactly where your hand reaches in the dark.
For a softly worn look, sand back the places that would naturally take the most wear: the front edge of the seat, the tops of the legs, the rise of the stretchers. Keep it light. A few honest scuffs read as age; heavy distressing reads as a project.
Indigo wax: colour and protection
Chalk paint on its own marks if you so much as look at it with a mug in your hand. Wax seals the surface and hardens as it cures, and indigo wax does something extra: it settles into corners, cools warm neutrals and gives pale greys and off-whites a soft, smoky blue cast. If you cannot find indigo, a dark blue or black furniture wax gives a similar effect.
Apply it thinly with a brush or a folded cloth, working in small circles and pressing it into the paint rather than laying it on top. Do not overload the cloth. After ten to twenty minutes, buff off the excess with a clean lint-free cloth until the surface feels dry and faintly satin. Two thin coats beat one thick one, and the second can be buffed harder for a lower sheen.
If you want the blue concentrated in the detail, seal the stool with clear wax first, then work indigo wax into the corners, mouldings and edges. Leave the finished piece a few days before heavy use so the wax can cure properly, and use coasters under hot mugs — a waxed finish is tough, but it is not heatproof.
Finishing touches
Check that the stool stands level. A short leg can be eased down with a few strokes of sandpaper, and a stick-on felt pad will do the job too. Felt pads or rubber feet also protect wooden floors and stop the stool scraping across them at night. Then style it for the room it will actually live in. A stool is small, so one lamp and one small object is usually enough — a slim book, a little vase, a candle. Any more and it stops being a bedside table and becomes a shelf.
Looking after it
Dust with a dry cloth and wipe spills promptly with a barely damp one, then dry the surface. Skip silicone polishes and anything abrasive. Once or twice a year, or whenever the finish looks tired, rub in a thin coat of the same indigo wax and buff it back. The colour deepens very slightly each time, which is part of the charm.
A solid stool rescued from a charity shop and finished in an afternoon will comfortably outlast most flat-pack furniture. Part of that is the wood, and part of it is the finish: scratch a waxed surface and a little wax and a rub with a cloth will hide the damage. Worth a look along the back shelf next time you are in town.
Photo: Oktay Köseoğlu / Pexels